Home › Forums › Product Reviews › Product Reviews › Motion Pro swingarm / linkage tool
This topic contains 10 replies, has 0 voices, and was last updated by Greg 12 years, 8 months ago.
-
AuthorPosts
-
August 11, 2013 at 10:22 am #103125
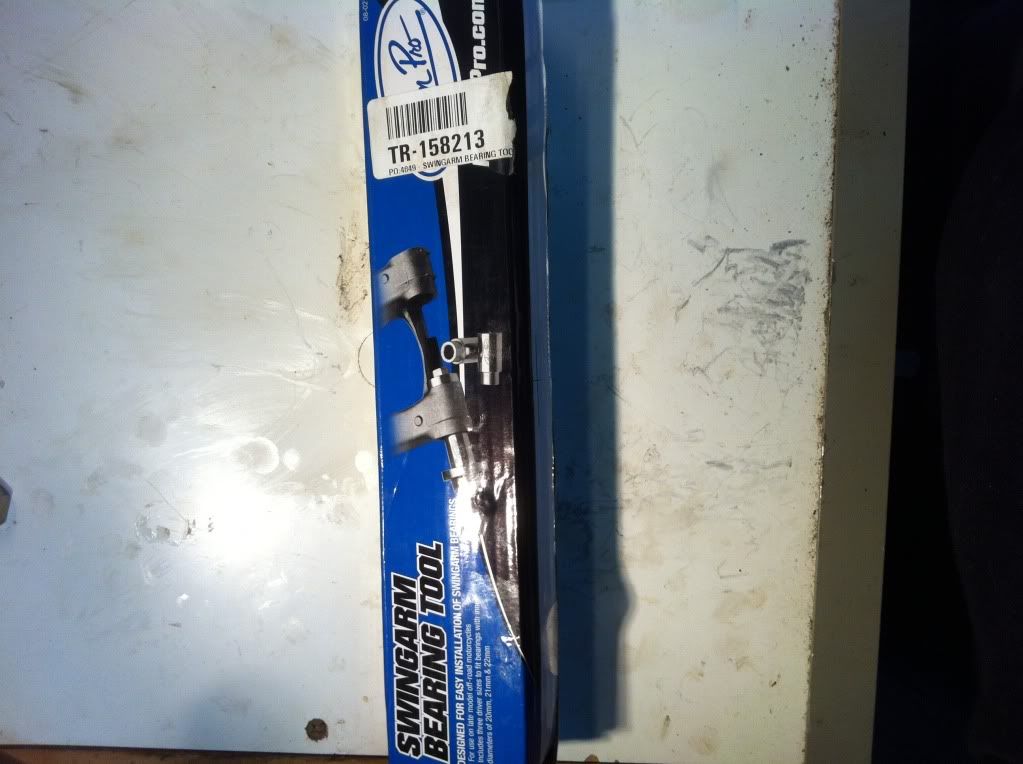
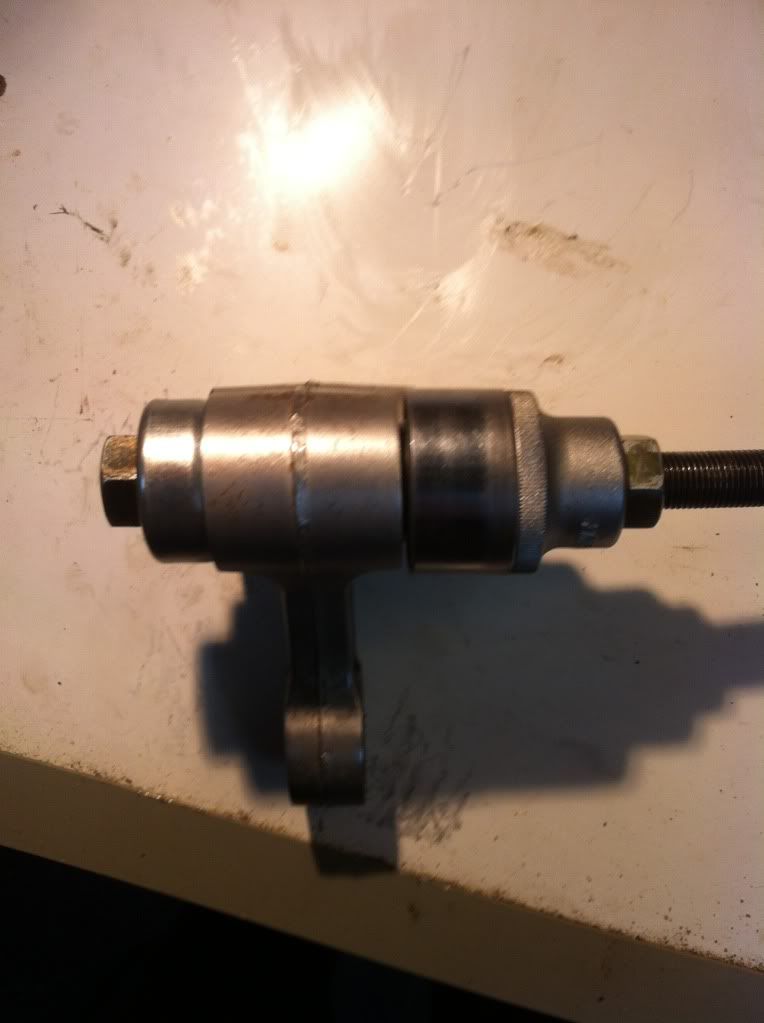
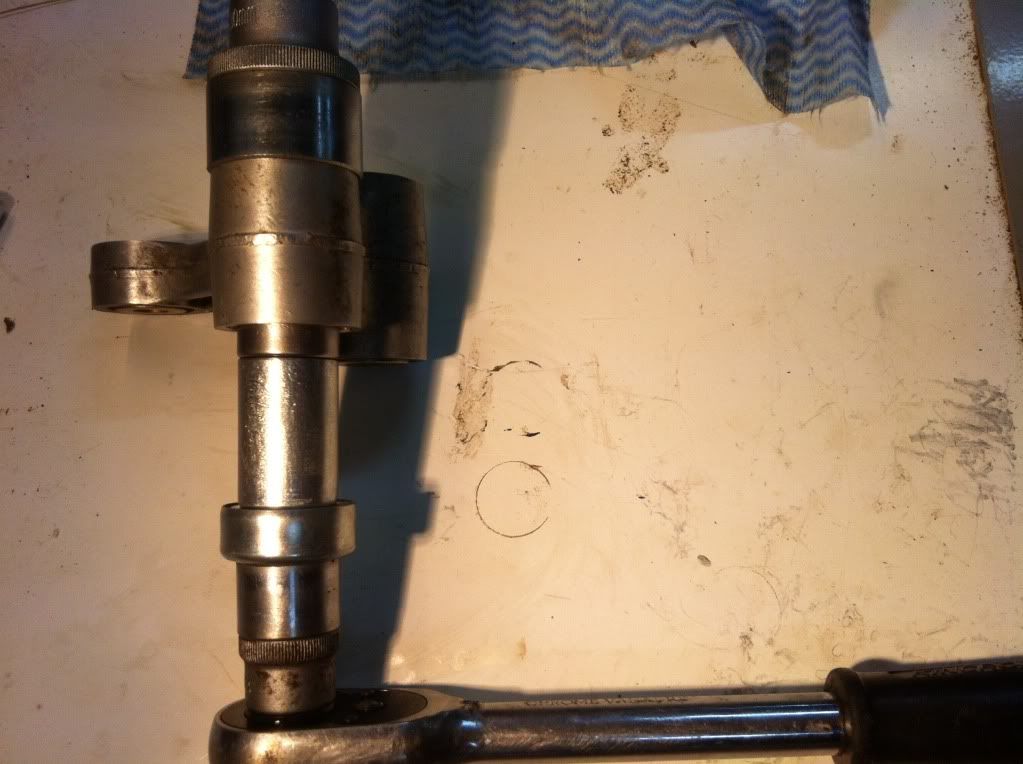
I got my Motion Pro swingarm tool yesterday and decided to replace all the bearings in my linkage. I was surprised how easy this job was with the right tool
")
The tool cost me $54 including postage from eBay.
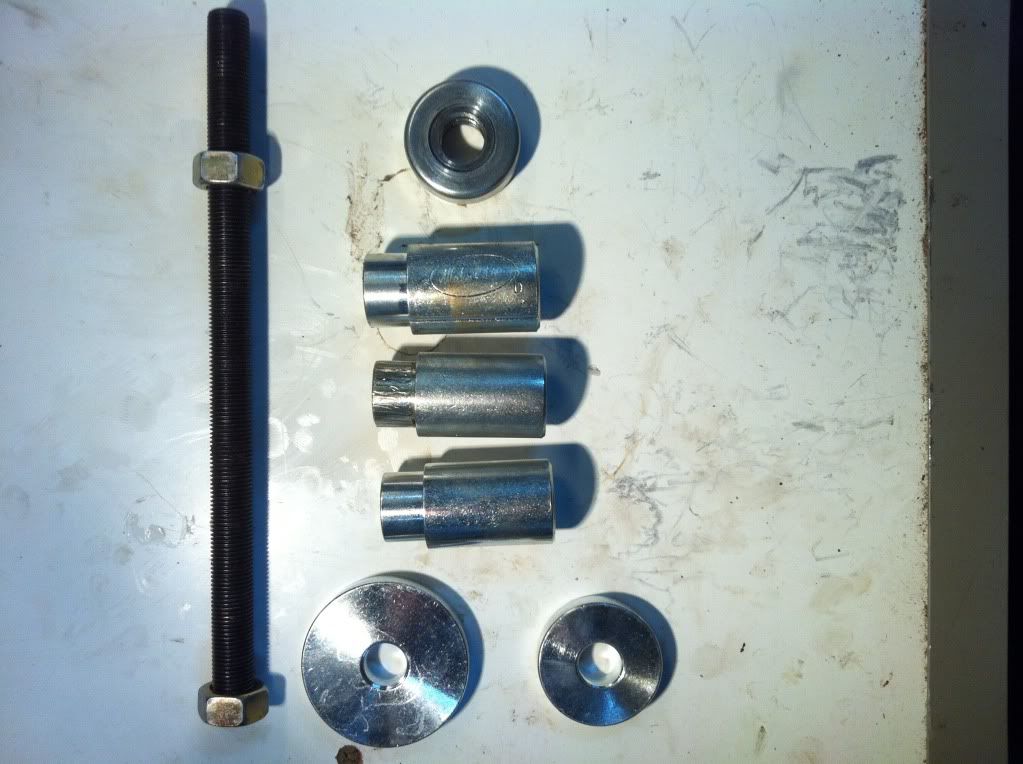
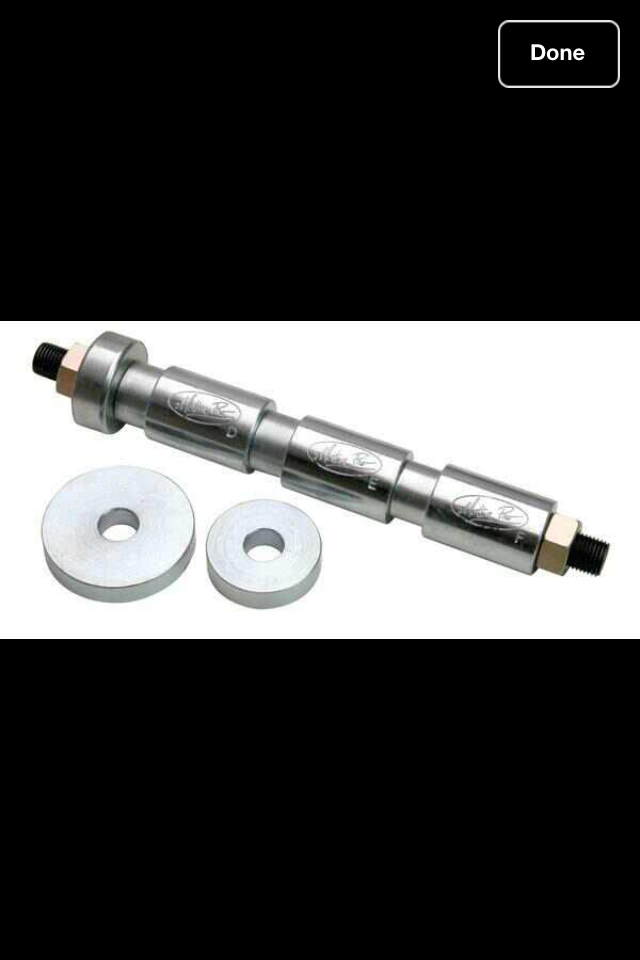
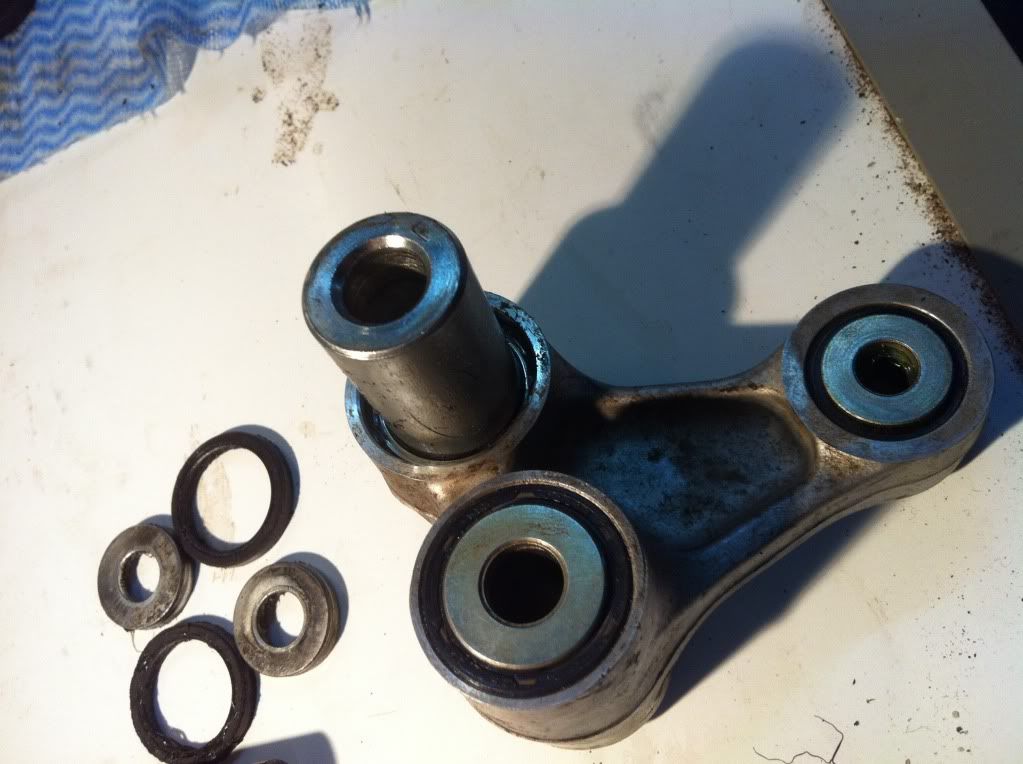
The kit comprises of a threaded rod and nuts , 3 different size drivers , a thrust bearing and 2 washers
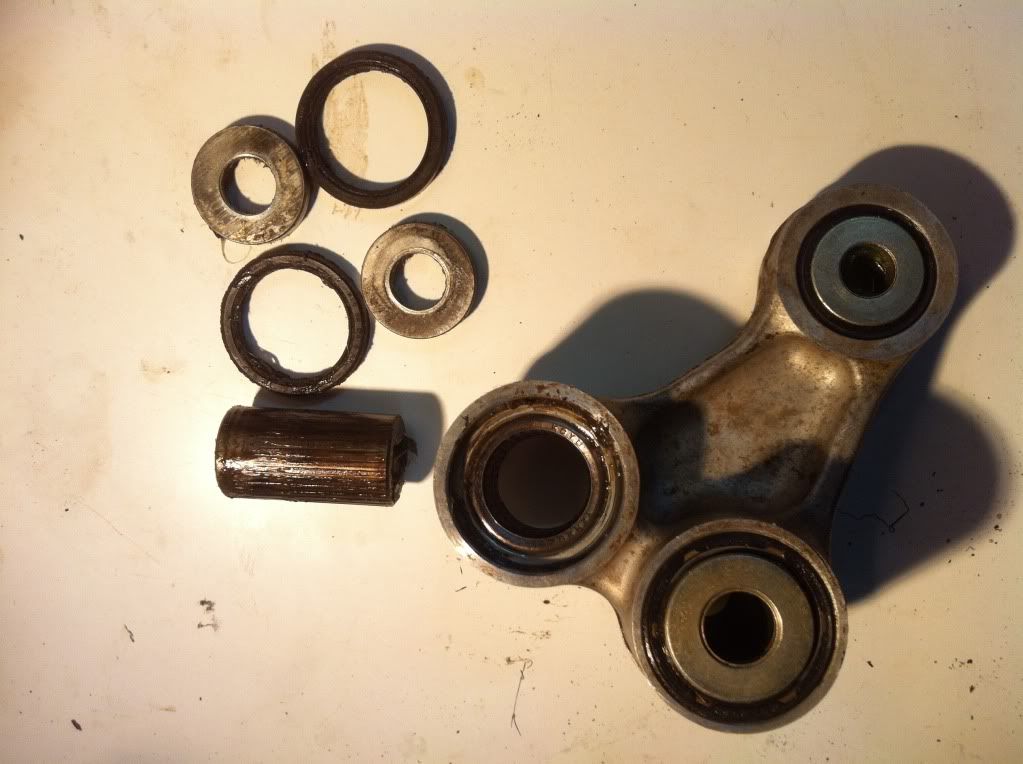
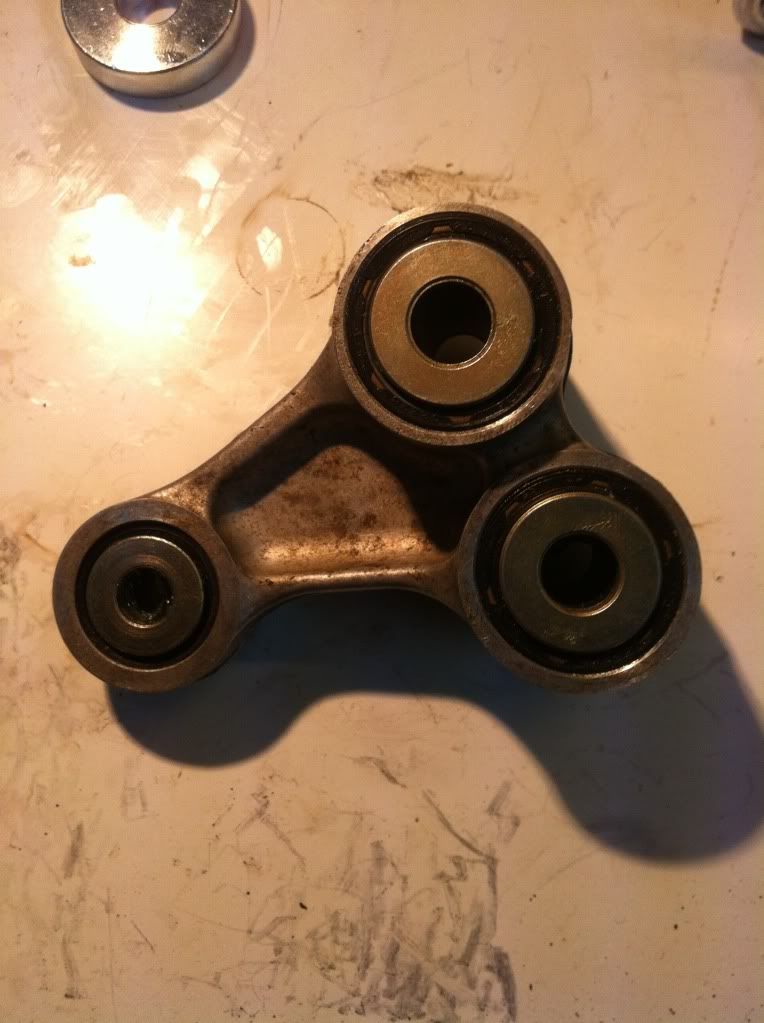
To use you simply remove the bearing seal and metal insert
Select the right size driver for your bearing
Place into the bearing
Insert threaded rod , thrust bearing , and I used a 30mm socket to push the bearings into
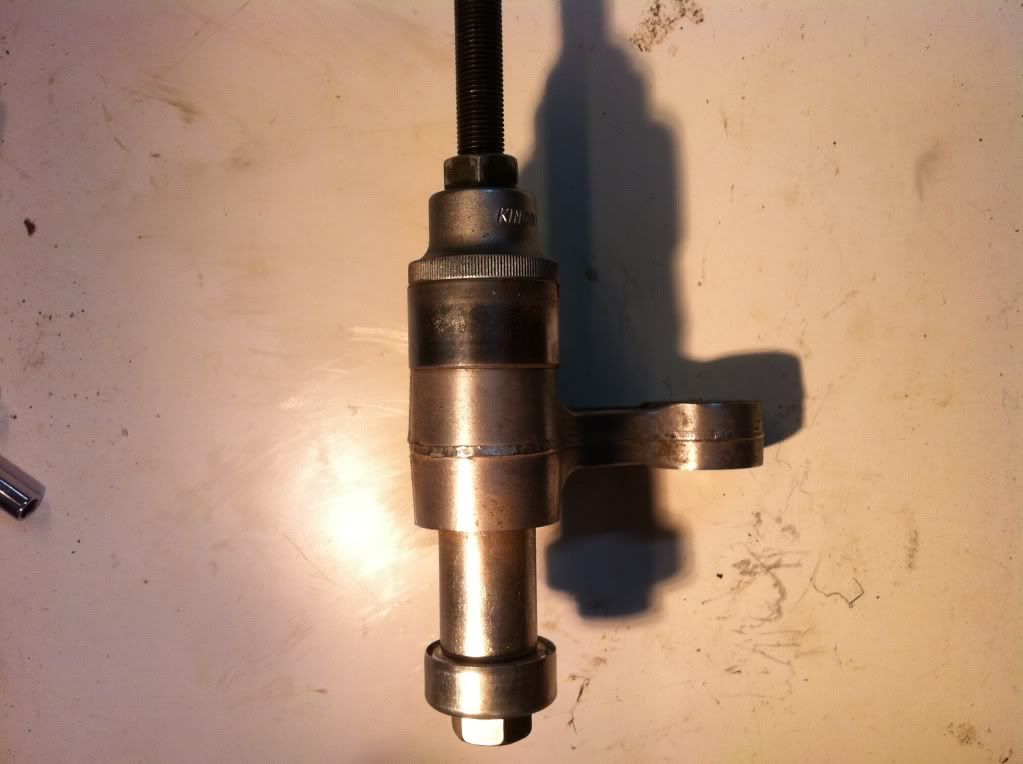
Use a socket to tighten the nut
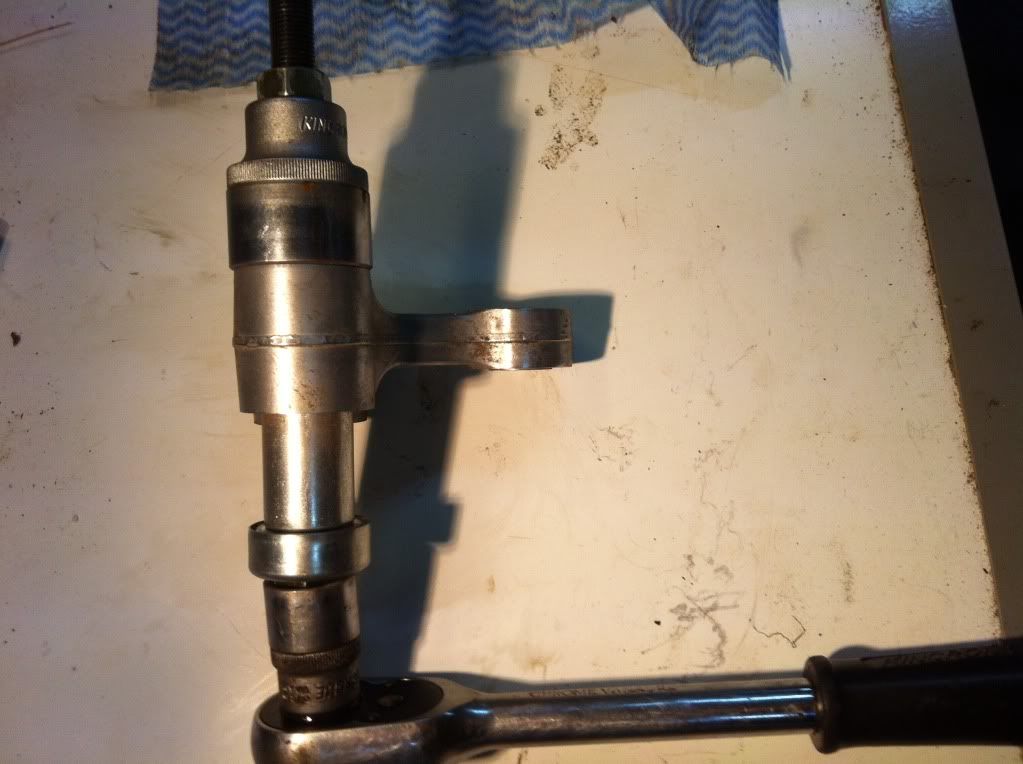
Tighten until the driver pushes the bearings through into the 30mm sockets
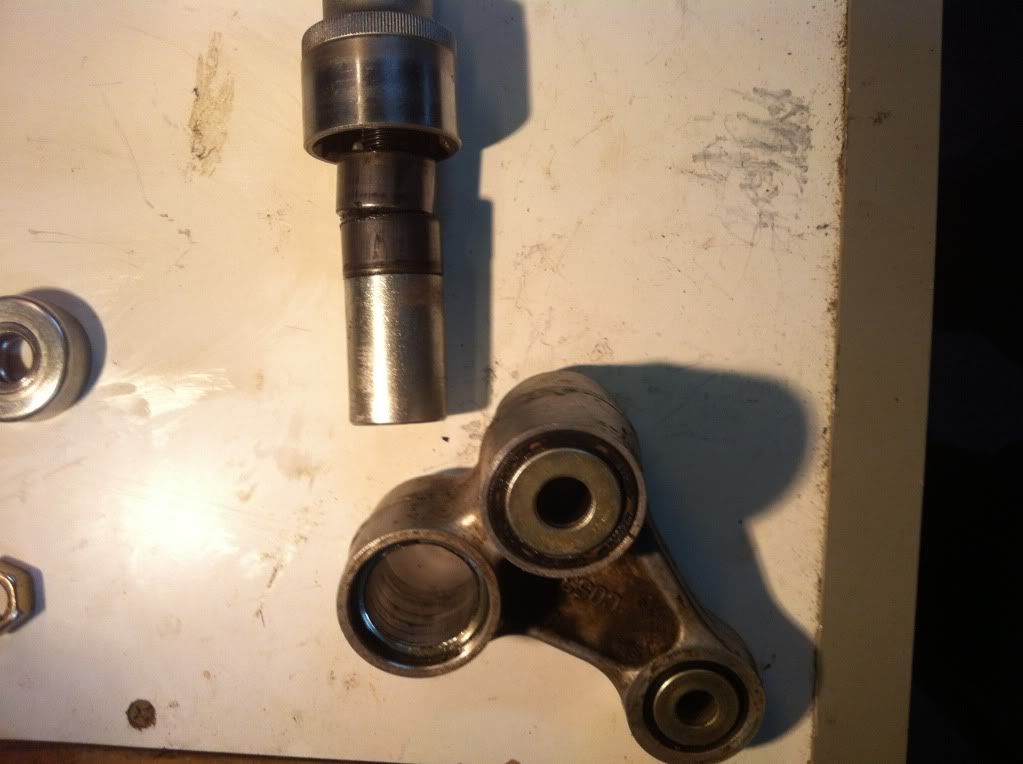
Bearings out
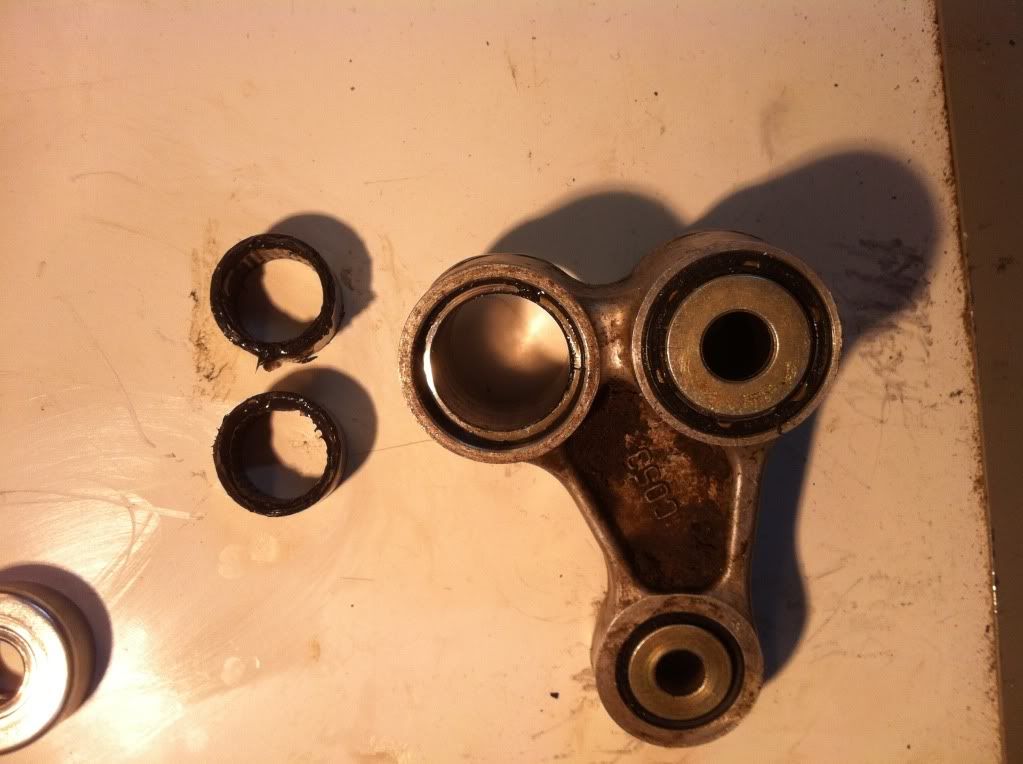
To fit the new bearing , slide it over the correct size driver
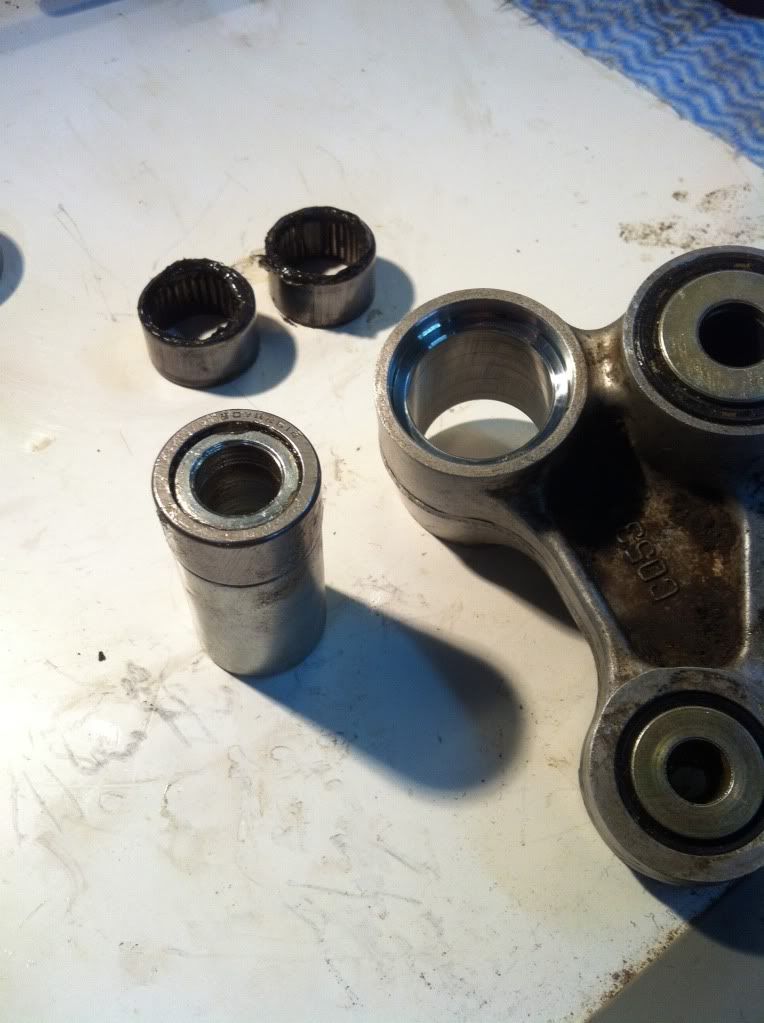
Assemble the Motion pro tool as before , ensure the bearing is seated correctly
Drive the new bearing into place by tightening as before

Turn the over and repeat for the second bearing , grease , fit insert and seals
I’m not a mechanic but I found this very a simple job and took about 30 minutes to replace all the brearings and seals in this linkage. I know their are ways to do this with sockets etc but this tool worked very well and I thought well priced too.
Nick
August 11, 2013 at 12:07 pm #247842Just wondering Nick if this tool would work on bearings that are pushed out from the inside as one part of the link on my 2006 WR has a seat on the inside that the bearings match up to
Buzz
August 11, 2013 at 8:25 pm #247853Buzz wrote:Just wondering Nick if this tool would work on bearings that are pushed out from the inside as one part of the link on my 2006 WR has a seat on the inside that the bearings match up toBuzz
The Crf is the same mate , one end of the link has a lip that the bearing sits on. I have been told to take out the needle bearings then put some heat on it ( apparently aluminum expands 3 times more than steel ) then tap it out from the opposite side. Then use the tool to press in the new bearing . I’ll let you know how this goes Buzz !!
Nick
August 11, 2013 at 8:36 pm #247854Heat it with a heat gun not a flame style heat. A heat gun is all they use at Tekniks all the time disassembling suspension and engine parts
TB
August 11, 2013 at 9:32 pm #247855Nickj wrote:Buzz wrote:Just wondering Nick if this tool would work on bearings that are pushed out from the inside as one part of the link on my 2006 WR has a seat on the inside that the bearings match up toBuzz
The Crf is the same mate , one end of the link has a lip that the bearing sits on. I have been told to take out the needle bearings then put some heat on it ( apparently aluminum expands 3 times more than steel ) then tap it out from the opposite side. Then use the tool to press in the new bearing . I’ll let you know how this goes Buzz !!
Nick
Awesome you learn something new everyday. Thanks Nick.
Buzz
August 11, 2013 at 9:33 pm #247857Trailboss wrote:Heat it with a heat gun not a flame style heat. A heat gun is all they use at Tekniks all the time disassembling suspension and engine partsTB
Thanks TB, good tip. I’ll invest in one.
Buzz
August 12, 2013 at 10:55 am #247856Nickj wrote:Buzz wrote:Just wondering Nick if this tool would work on bearings that are pushed out from the inside as one part of the link on my 2006 WR has a seat on the inside that the bearings match up toBuzz
The Crf is the same mate , one end of the link has a lip that the bearing sits on. I have been told to take out the needle bearings then put some heat on it ( apparently aluminum expands 3 times more than steel ) then tap it out from the opposite side. Then use the tool to press in the new bearing . I’ll let you know how this goes Buzz !!
Nick
Update for Buzz
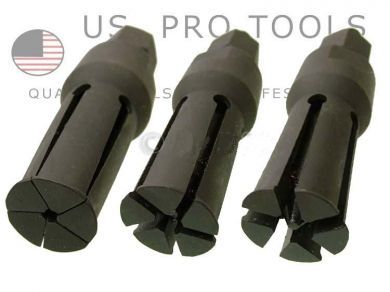
I ended up putting the link into my vice and heated it with a heat gun , I didn’t like the feel of knocking out the bearing case with a punch so I found out that a blind bearing removal tool fitted perfectly through the opposite side of the link and once expanded sat nicely on the bearing case and it tapped out easily.
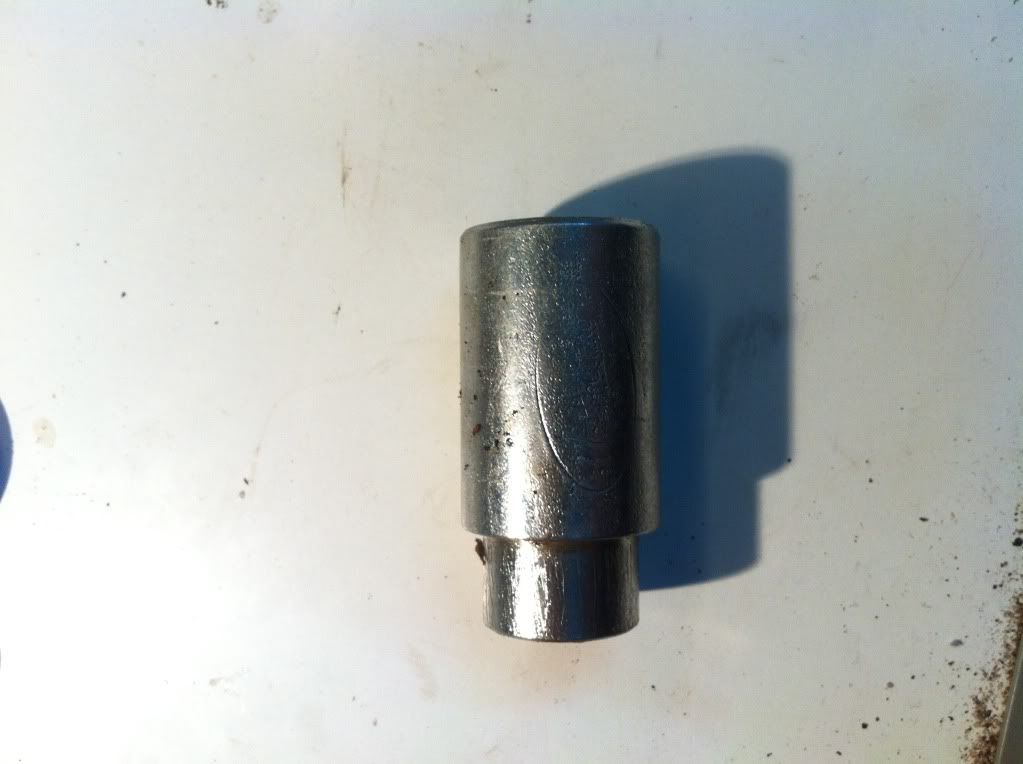
The Motion pro tool then pressed in the new bearing in no timeBlind bearing removal tool
Nick
August 12, 2013 at 11:58 am #247843This thing looks pretty handy. I used the press at work when I did mine. But that dragged me away from home using up precious brownie points.
 This looks like something I could keep in my home tool box. Thanks for posting. BTW I was talking to Buzz re this today and he asked if his old hair dryer would do to heat up linkages and the like. I couldn’t see why not just as long as he held it there long enough. :whistle:August 12, 2013 at 12:06 pm #247912Aaron wrote:This thing looks pretty handy. I used the press at work when I did mine. But that dragged me away from home using up precious brownie points. This looks like something I could keep in my home tool box. Thanks for posting. BTW I was talking to Buzz re this today and he asked if his old hair dryer would do to heat up linkages and the like. I couldn’t see why not just as long as he held it there long enough. :whistle:
The trouble with using a hair dryer is it heats it slowly, this gives time for aluminium to transfer the heat into the bearing as well. While the steel bearing won’t expend as fast it can and does expand. A heat gun heats faster minimising the heat transfer into the bearing
TB
August 12, 2013 at 7:39 pm #247844Thanks TB. I could see how that would be as we put a graphics kit on a bike and tried a heat gun in a few spots but it was a bit vicious.
I have seen the fitters put some bearings in the over night fridge also before an install.October 27, 2013 at 5:00 am #247845Been watching one of these for a while and decided to grab it a few weeks ago as I had all the suspension bearings to do on the TTR. Wally here didn’t really think twice and lobbed in with the thrust bearing around the wrong way, crushing the race and stopping it from spinning. I shot a quick email off to motion pro explaining I had stuffed it, asking if I could buy another and despite telling them I lived in AUS Chris said no cost and no shipping charge either. I haad it in the mail box in under a week ! :woohoo:
if that’s customer service what is? :huh:10/10 on all fronts on this little beauty
(one word of warning though, being alloy you must resist the urge to slog the drivers even a soft mallet will cause damage side in contact with the bearing).
-
AuthorPosts
You must be logged in to reply to this topic.