This topic contains 9 replies, has 0 voices, and was last updated by glenn 14 years, 3 months ago.
-
AuthorPosts
-
December 7, 2011 at 9:26 pm #100803
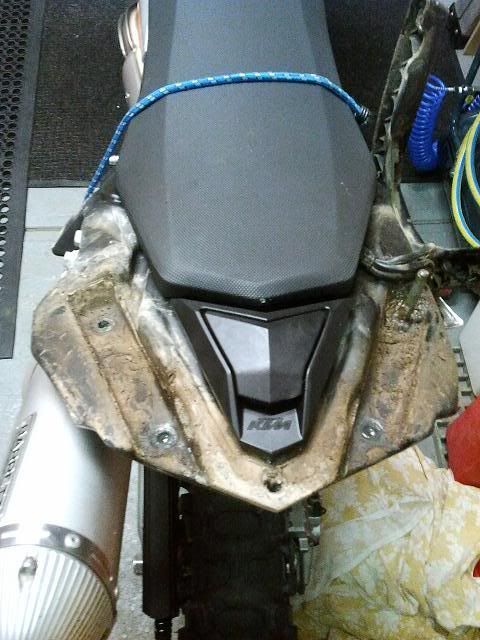
I seem to remember some mention on ADV Rider a while back of repair procedures for seized rear grab handle bolts into the tank of the 690`s ,,,
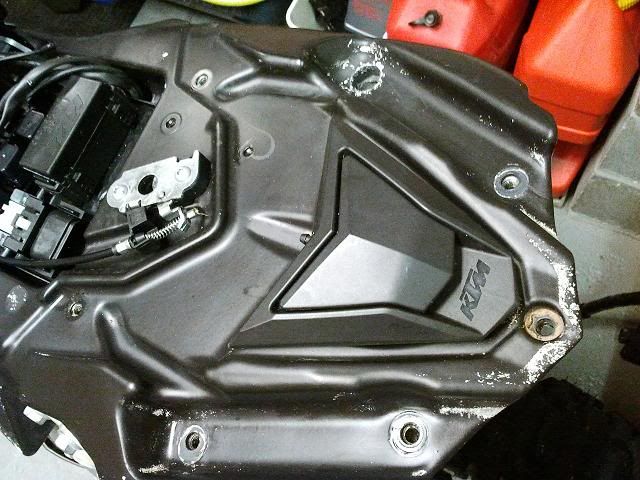
So this may help any owners on here if they strike the same problem in the future.My bike had one (the front bolt on the right hand side) from when I bought it in April. I put it down to poor cleaning and lack of anti seize from the previuos owner. It gets real grubby under there and I hadn`t had the rear apart as yet , but will regularly now,,,
Anyway. I got jack of it finally and drilled out the head of the countersunk bolt, cut a thread on the top 10mm to allow a nut to be wound on.
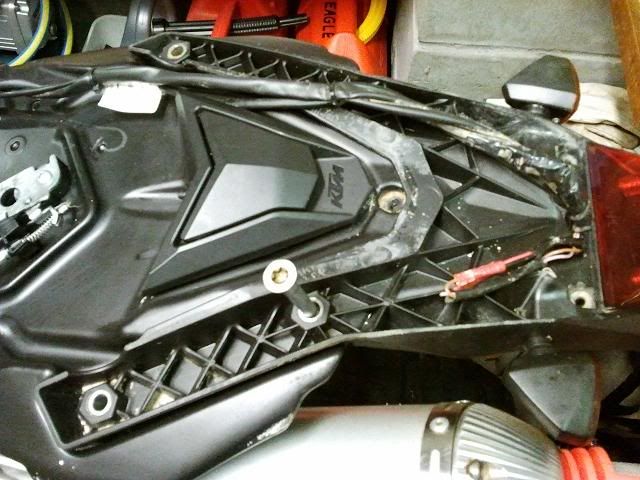
I had removed all the rear plastic guard and light asembly to allow access to the base of the fastener as well.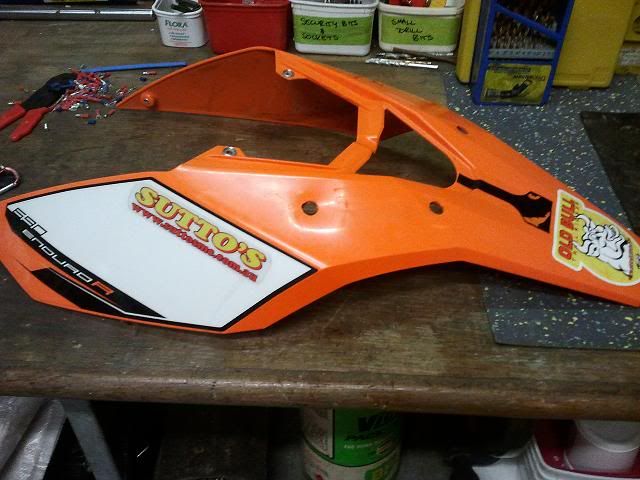
Then I proceeded to drill around the base of the seized bolt, working up from 4mm (working the drill around the bolt circumference like a dremel (I don`t have a die grinfder or dremel at home)
Then gradually worked up thru the sizes to 7mm with the same procedure, until I could grab the bolt with multigrips and work it from side to side carefully till it popped out with the large domenut type base attachedoffending bolt & base out
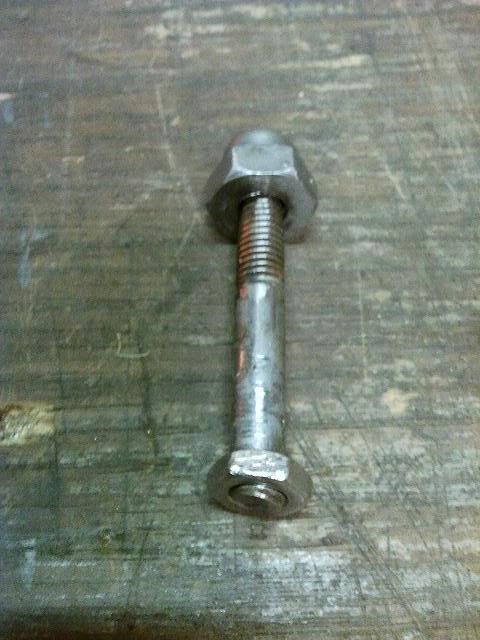
It is a slow process, being careful not to damage the tank or drill out too much material (it is surprisingly tough though)
Then to clean out the remaining hole with some thinners or similar so I can glue in a new domenut tomorrow ,,,,,
I will be using Devcon Epoxy Adhesive to glue in the new one and ensuring I drill some small holes or make some cuts in the sides of it to allow good adhesion against turning (better than the original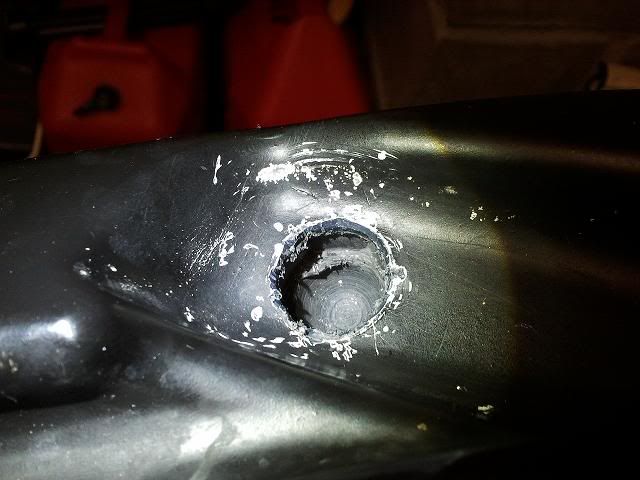
What it should look like
Let it set for a week I think too, before inserting bolt again & away I go.
I have been using Tefgel on the other three bolts since I got the bike and they will never seize, so thats the way I will go with the other repaired one after I get the repair completed") December 8, 2011 at 10:44 pm #212826
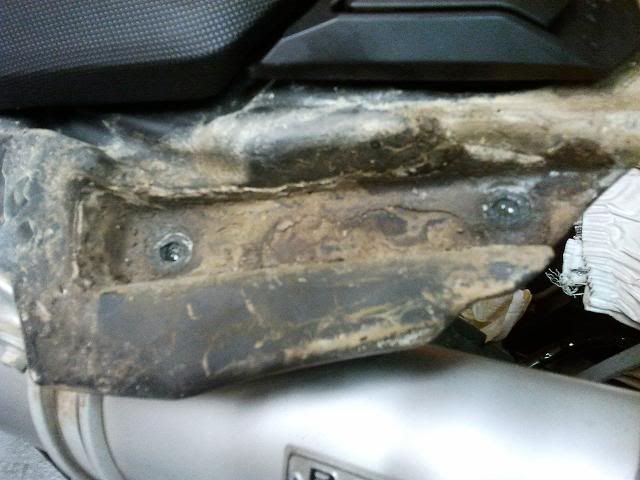
December 8, 2011 at 10:44 pm #212826Managed to remove the old seized bolt today & weld up the hole, retap and glue the anchor back into the tank this arvo
It was actually a tad larger than a standard 8mm Dome Nut, so I figured why not reuse it ????
I also cut some extra grooves into it with a hacksaw before glueing in to help resist twisting out :whistle:More pics to come after she has cured & I am ready to refit the rear end
December 8, 2011 at 10:53 pm #212930good fix beages..
option 2 is
throw it away and buy a suzuki, :whistle: :whistle: :whistle: :whistle: :whistle: :whistle: :whistle: :whistle:
December 8, 2011 at 11:32 pm #212932Boony wrote:good fix beages..option 2 is
throw it away and buy a suzuki, :whistle: :whistle: :whistle: :whistle: :whistle: :whistle: :whistle: :whistle:
:laugh: In your dreams Boon , I am not going backwards to a Farm Implement

And the only decent Zuke I see still isn`t available ADR`d :whistle: :laugh:December 8, 2011 at 11:58 pm #212933EAGLE`02 wrote:Boony wrote:good fix beages..option 2 is
throw it away and buy a suzuki, :whistle: :whistle: :whistle: :whistle: :whistle: :whistle: :whistle: :whistle:
:laugh: In your dreams Boon , I am not going backwards to a Farm Implement
And the only decent Zuke I see still isn`t available ADR`d :whistle: :laugh:mmm rmx 450 nice bike eagle
December 9, 2011 at 9:38 am #212934EAGLE`02 wrote:Boony wrote:good fix beages..option 2 is
throw it away and buy a suzuki, :whistle: :whistle: :whistle: :whistle: :whistle: :whistle: :whistle: :whistle:
:laugh: In your dreams Boon , I am not going backwards to a Farm Implement
And the only decent Zuke I see still isn`t available ADR`d :whistle: :laugh:http://www.youtube.com/watch?feature=player_detailpage&v=WtUj3br21_E
yep you dont want to go backwards beages??????? :woohoo: :woohoo: :woohoo: :woohoo:
not to mention the coffs ride next year will include a break down vehicle for the katos, :woohoo: :woohoo: :woohoo: :woohoo: :woohoo: :woohoo:December 9, 2011 at 11:52 am #212827:laugh: Old news that one Boon,,,,
If by chance my bike did that , I still wouldn`t have a Zook in the shed :silly: :whistle: 😆Now piss off & leave this repair thread alone will ya :blink:
Jeezus :laugh:
December 9, 2011 at 5:01 pm #212828Ok, So decided to stick the old anchor back in as mentioned in a previous post,,,
Here it is prepped with an 8mm Nutsert wound down to the top of it, this ensured I had clearance around the threaded hole from the Epoxy after it sets.[attachment=3052]2011-12-0915.37.56.jpg[/attachment]
Then to apply enough Epoxy into the cleaned out hole, hoping for squeeze out when I pop the anchor in,
[attachment=3053]2011-12-0915.39.29.jpg[/attachment]
Applied a smear to the anchor as well and knocked it back in place (had to use a light tap of a hammer for this)
Epoxy squeeze out, just how I wanted it too
[attachment=3054]2011-12-0915.45.09.jpg[/attachment]
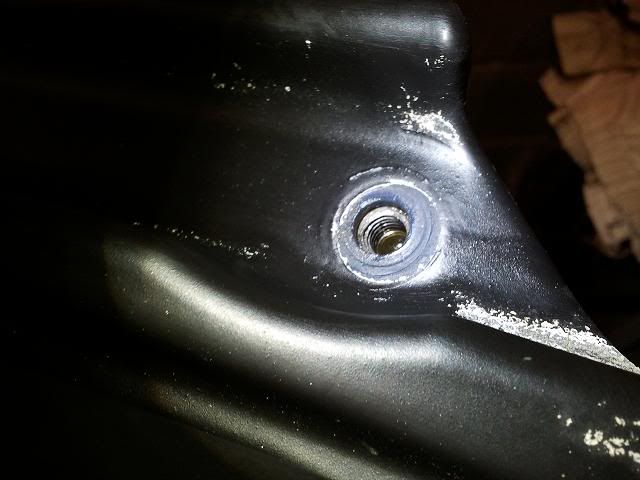
Then clean up around the top & wait for the curing process
Bolts in to assist in lining it up right (it was actually exactly in the old spot due to the moulded marks in the tank)
")
[attachment=3055]2011-12-0915.46.22.jpg[/attachment]
So far a great success. Some guys may baulk at attempting the job (that`s why I am posting it here)
A lot better than buying a new tank or going without a bolt to rely on,,,, :whistle:December 9, 2011 at 5:26 pm #212829Great fix, Eagle,
Ive got a spare tank from a warrenty job on my husky i might try something similar to replace the 2 spinning tank inserts that are gone. There a touch smaller but the same thing.cheers
December 9, 2011 at 8:02 pm #212830No wuckees mate,,,
Just be careful and take little bits of plastic at a time, working up to a diameter that enables the anchor to be popped out.
Too much too quick & you might hole the tank (which is what I was worried about for some time, hence taking 5 months to work up to doing the job) :laugh:But the tank is really tough (they have to be I suppose)
Cheers & Good Luck
-
AuthorPosts
You must be logged in to reply to this topic.