Home › Forums › General Bike Talk › XR400 Build
This topic contains 0 replies, has 0 voices, and was last updated by Leo.C 13 years, 6 months ago.
-
AuthorPosts
-
September 12, 2012 at 1:38 am #101839
All HANDY hints tips and tricks of relevant trades are welcome as I know the the difference between torque and talk but all the rest is a learning curve albeit a rather F%@#ing steep one
")
Save the banter and the “you should just buy a KTM” for later")
Headed out for a little Recce map check ride about 5 weeks ago now, armed with a Garmin 405 GPS watch my boss loaned to me (on the conditions you break it you buy it). There I was chugging down a section of tar about 15 km from home when a dreadful bogging down sound came from the engine… kinda like when you run out of juice but I knew (as I had just filled her up) it’d be worse. So, there we both sat, me and the Junior Red Pig on the side of chain’o’ponds Rd looking over for oil leaks = clean, checking the carb for flow = good, checked the dipstick = plenty (maybe too high) :blush: and a HUGE “ohhhh shit!” feeling sinks in :blush: :blink:
So after a few calls a local bike mechanic came to the much appreciated rescue, and of course being a Suzuki man, got the bike loaded and locked on the trailer and produced a camera and the mother of all grins.
at home I drop the oil, plenty out of the tank, good sign. Sump next, about 100-150 ml here both plugs magnetic tips covered in filings. As the oil came running out it looked like black metallic paint, looked cool, except it was coming from an engine :sick:
Start tearing her down and, as I thought and my mechanic was saying it would be, she was a mess.
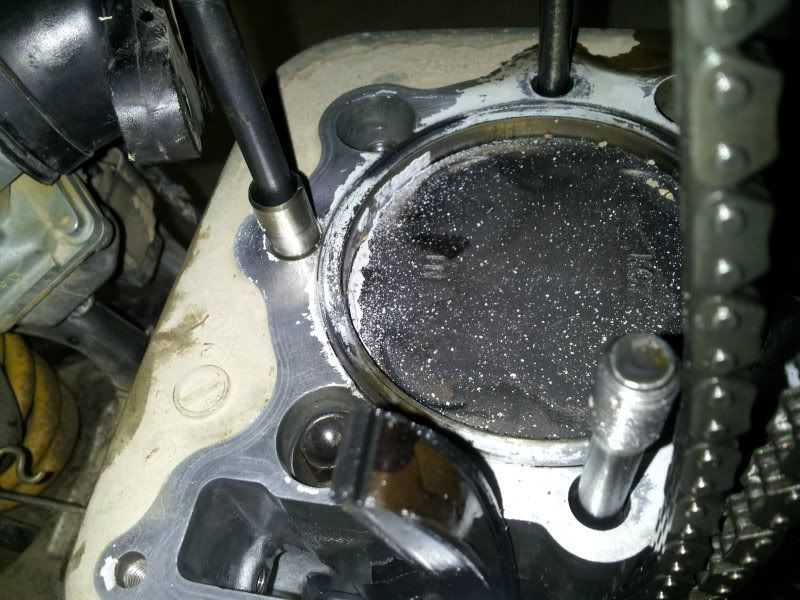
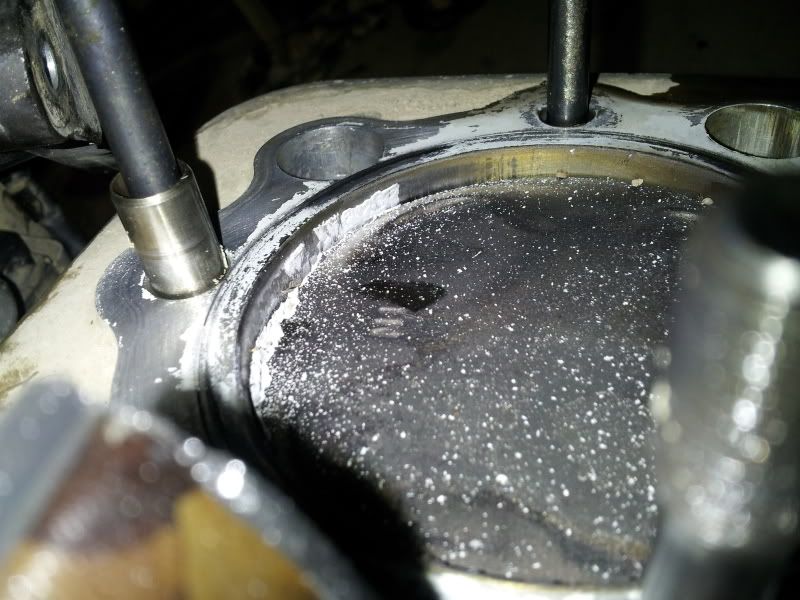
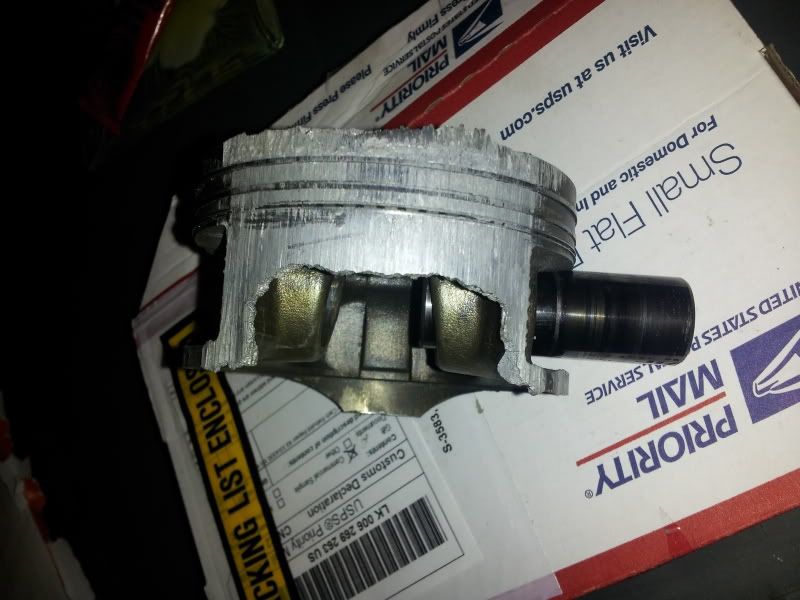
Took off the barrel which didn’t want to come at first and looked at what was left of the piston (half of the skirt on the intake side was chewed off)
Pin was locked in there goodly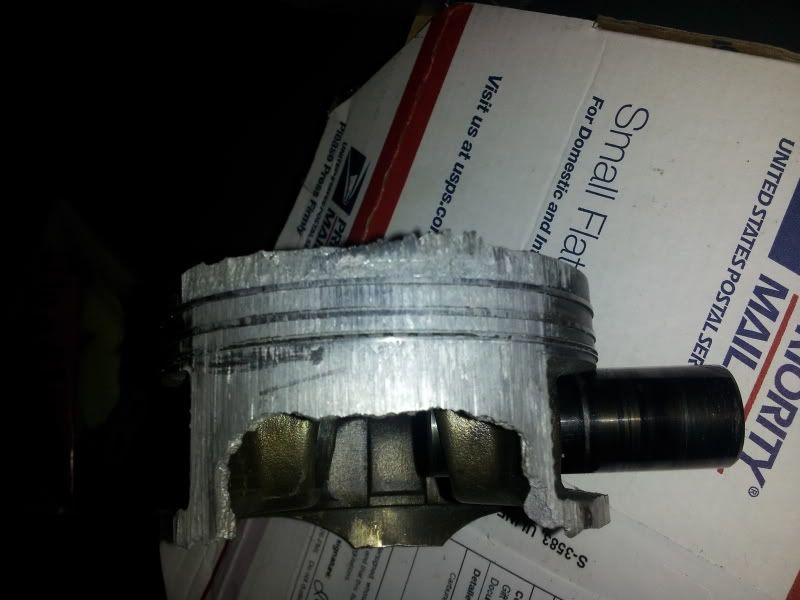
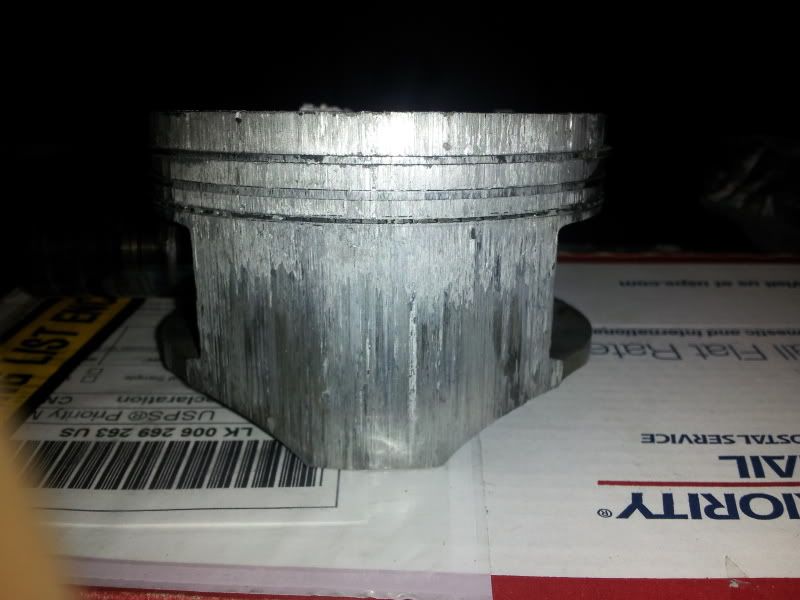
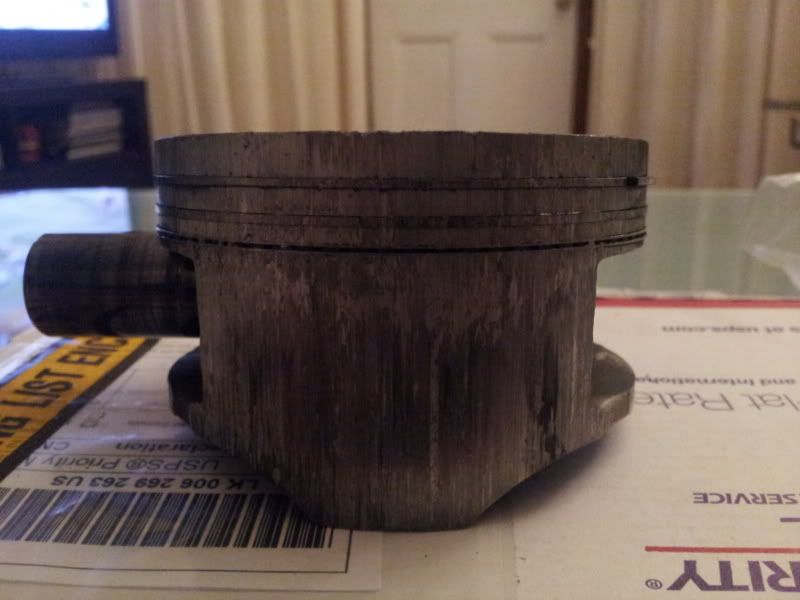
You get the picture :unsure:
So a long and drawn out process began with my boss, Pete, at the video shop saying “piece of piss you’ve got a service book i’ve got google”… too easy!
I began to trawl the web for rebuild words of advice and haunted thumpertalk for about 18hr a day for a week straight!
 got a good deal of info from the sepo’s seems those fellas pull their bikes down in winter just for the fun of it :blink:
So getting back into JRP, pulling clutch off etc etc. One thing i will say is the alloy gets EVERYWHERE!!!! couldn’t believe it at first.
First job find someone to bore out the barrel, got 3 recommendations for Probore in Port Macquarie. Lindsay (who reminds my boss of a younger ‘Burt’ from “The Worlds Fastest Indian”) told me I’d need an 86mm Piston, which I ordered from Wiseco, and he made it happen. Thanks to Lindsay from Probore for all the work and wisdom.
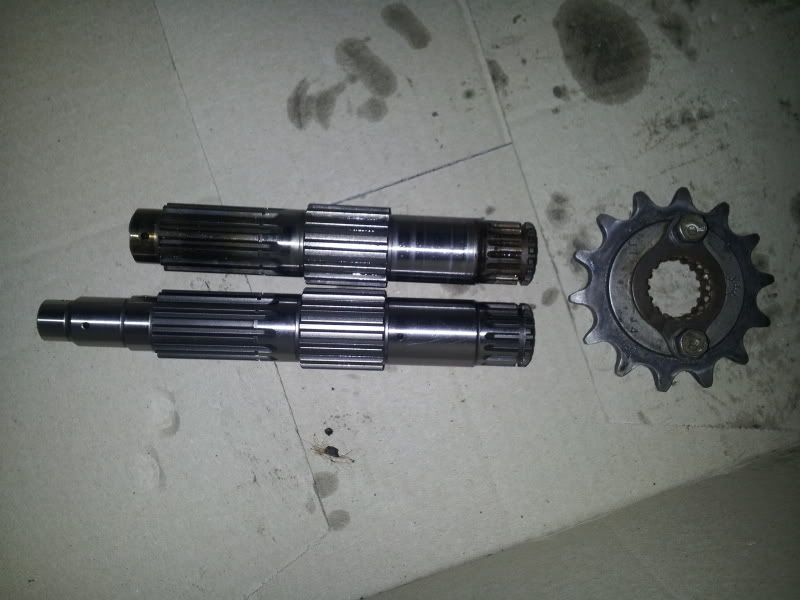
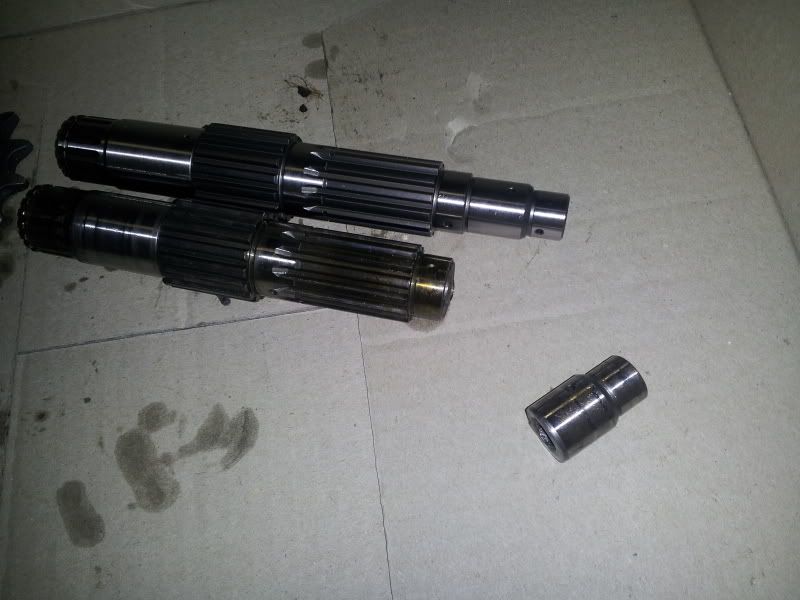
Kind of a shame to have to hide this in the middle of an engine… until its going then I wont give 2 shits anymore but its a sexy lookin bit of kit.After that the clutch centre came out, I looked around, found a massive chunk of the pitson skirt in behind the oil pump. Was removing all the parts and pieces to get at the inner clutch cover and went for the idler gear which pushes onto a bush on the back side of the countershaft it felt spongey like it was sitting on a rubber mount or something :blink: and when i removed it the whole piece came out = gear, bush and spindle…. WHAT??? SPINDLE??? :huh:
back to the service book to check what i should have. Gear, check, bush, check…. no spindle, oh dear! :pinch: Turns out it was the tail of the counter shaft and had clean snapped off and was just sitting in its housing against the bearing.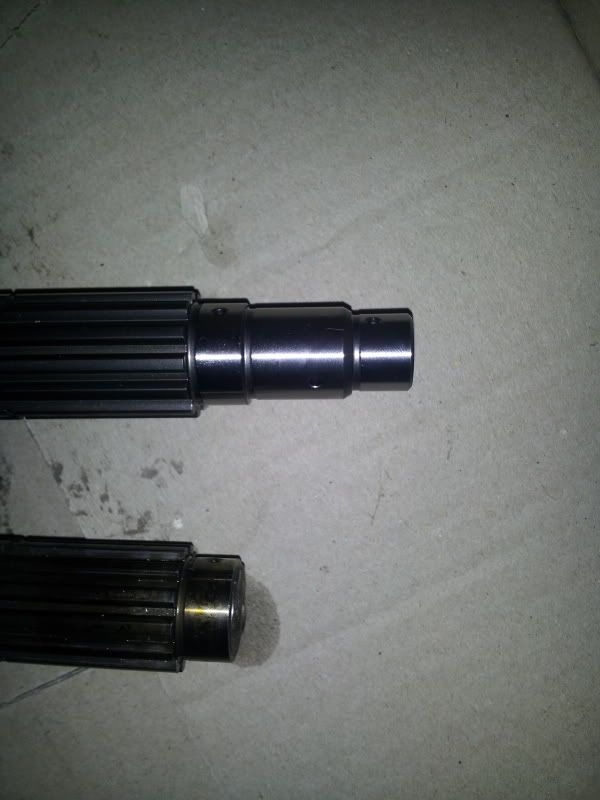
I rang wreckers, collectors, mates of blokes you name it no help, then I rang Rock
happy days. Yep, we’ve got that it’ll be here lunch time tomorrow. Not much change from $175 but kinda important bit to have.
I also then found the tooth (that was “definitely not in there anymore”) from the last idle gear that was replace by a mechanic after i first got the bike and send it to get checked out and rego’d :blink: ah well we all have bad days :whistle:
Then came the fun job of finding all the bearing numbers and part codes, Again BIG BIG thanks to Shaun and the lads in service at Rock MC for what would have been very painful phone calls as I read out an endless list of bearings (6 of 12 actually) but all the same. Thanks Gents. They were able to get me a big end bearing set for a only a fraction more than ebay could have. Eastland Bearings supplied me with the remaining generic sized NTN bearings.As a student with somewhat limited income I dont mind admitting I used ebay a bit for parts etc one guy in particular who supplied the replacement front axle i was hunting a while ago also supplied me with an oil pump, kickstart mech. and counter balancer shaft (which it turns out i didnt need) and a new foot peg mounting bracket for $150 cut’n’dried (incl postage)
I did try getting as many parts locally but when one-less-than reputable supplier north of me had an oil pump from a ’96 for $120 i could really justify it or afford it :blink:So after about 3 or 4 weeks of spending and accruing i’ve got:
Moose gasket kit w/ oil seals,
Wiseco piston kit
Hotrods conrod kit
Wiseco timing chain for a CRF450 (Thumpertalk boys reckon its the go, same pitch and length as the XR just more beefy)
All the case beaings either OEM or NTN
Shindy Carb kit from Japan for the stock carb, love a mikuni but I need the kidney I have left :unsure:
new O2 Rush air filter from unifilter.
Lindsay from Probore also suggested while its in as many parts as it has been since the assembly line i might as well do swingarm and linkage bearings so they’re on the way too from pivot works
The frame is off in the spray booth getting a super hard primer and paint at Venture Smash Repairs
New tank and swingarm decals too :woohoo: :woohoo: :woohoo:
I’ve arranged for some dry ice and an oven to fit all the bearings with minimal fuss
Will soon talk to someone about re-jetting considering I’ve had the head ported as wellSo what am I forgetting???
will keep y’all posted (fingers crossed I read the photo bucket tutorial correctly)
My aim is to have it all done’n’dusted in time for Coffs (if its not full) or Christmas -
AuthorPosts
You must be logged in to reply to this topic.