Home › Forums › Mud n Tar Suzuki Bikes Forum › Mud n Tar Suzuki Bikes Forum › Project Smoker
This topic contains 42 replies, has 0 voices, and was last updated by Dean 14 years, 7 months ago.
-
AuthorPosts
-
July 6, 2011 at 10:51 pm #204505Ollie wrote:Ollie wrote:Nuh ! I will dig up the jetting that sounds to rich everywhere!
ollie
OK this is the Snizzle if you dont have the JDkit
pwk 38/39 air striker carb
42 pilot
172 main
DEL needle middle clip")
Scotty you can get a FMF pipe from the states for $250 delivered the standard one is Hevvvvvyyyy :laugh: The Muffler is definatley a must have
Ollie
Yeh! When I took the pipe off mine I was surprised at the weight of it,,,,but it dose take some punishment. How tough is the FMF?
July 6, 2011 at 10:56 pm #204507I have the Pro circuit on mine and was given it so not to sure of the FMF one that would fit, I will do some investigation and get back to you. The Gnarly is the way to go really strong pipe Nickel plated etc, I think a 95 model RM would go close :unsure:
Ollie
July 6, 2011 at 11:38 pm #204512Ok done a bit of investo work and this is what I have dug up
From another site and a Guy who’s knowledge I respect:
The 98 on Australian RMXs were never sold in the states so you won’t be able to buy pipes from FMF or PC etc to specifically suit them. The 98-00 Australian models were based on the later RM engine which has the water pump higher up.
Don’t worry though after much stuffing around I worked out that the basic shape of a 99 RM250 pipe is the same and the mounts are in the right spots, only the header pipe is a slightly different angle. I fitted a 99 RM250 FMF Fatty to mine and just cold bent the header pipe. It fitted fine the only issue is one of the spring loops doesn’t line up but I found no issue running the one spring. I used a FMF Turbinecore 2 silencer with the pipe which made it nice and quiet but didn’t restrict power.
ollie
July 6, 2011 at 11:45 pm #204018Luv ya work Ollie. I figured the RM pipe would be the go as they look very similar I just wasn’t sure if the exaust port would be the same size but seems they are. Thanks.
July 7, 2011 at 1:20 am #204019No for powder coating dirt bikes. Choose again.
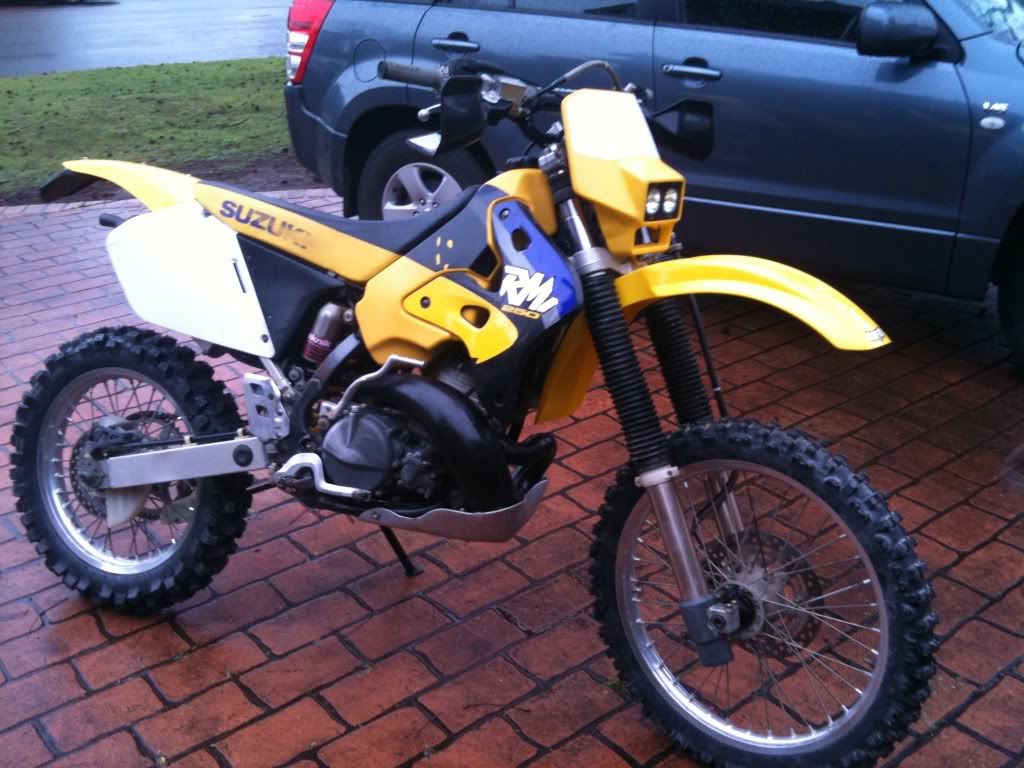
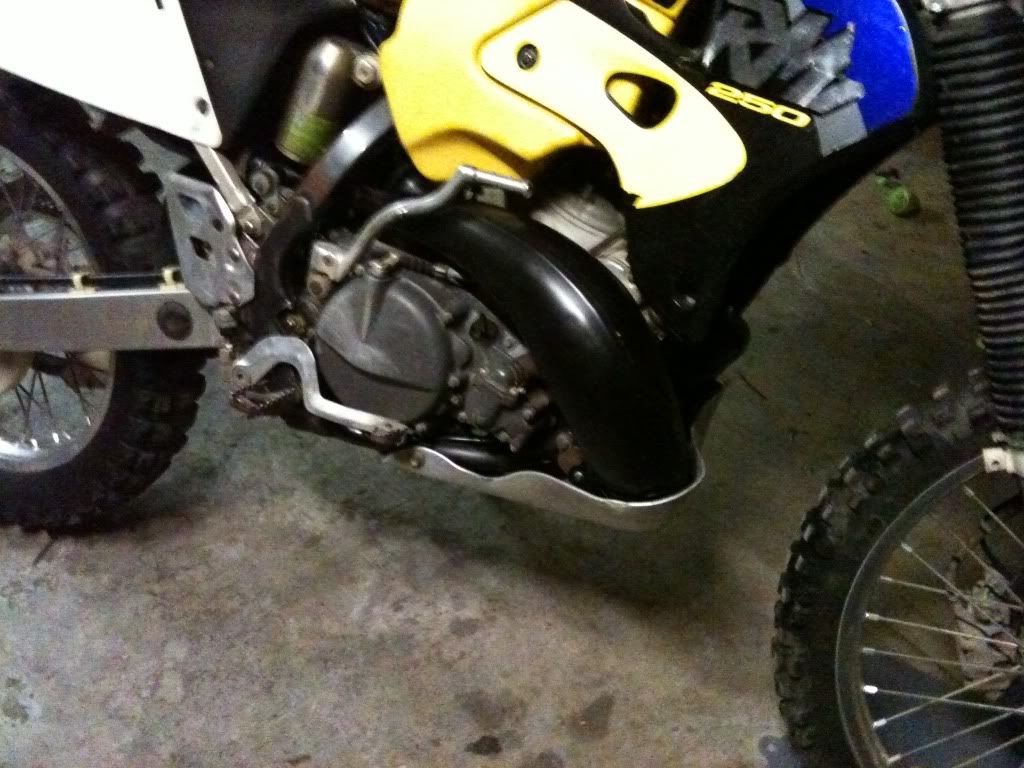
July 22, 2011 at 12:59 am #204020Ok, stage one of the smoker is complete. The plan at this stage was to get the RMX into a rideable condition.
Lookin good.
First thing done was the fitting of the 38mm Keihin Airstriker carby to get the old girl running nice. A whirlpool throttle was also fitted for a smoother feel. (pics above)
The swingarm and suspension linkages were stripped, cleaned and regreased.
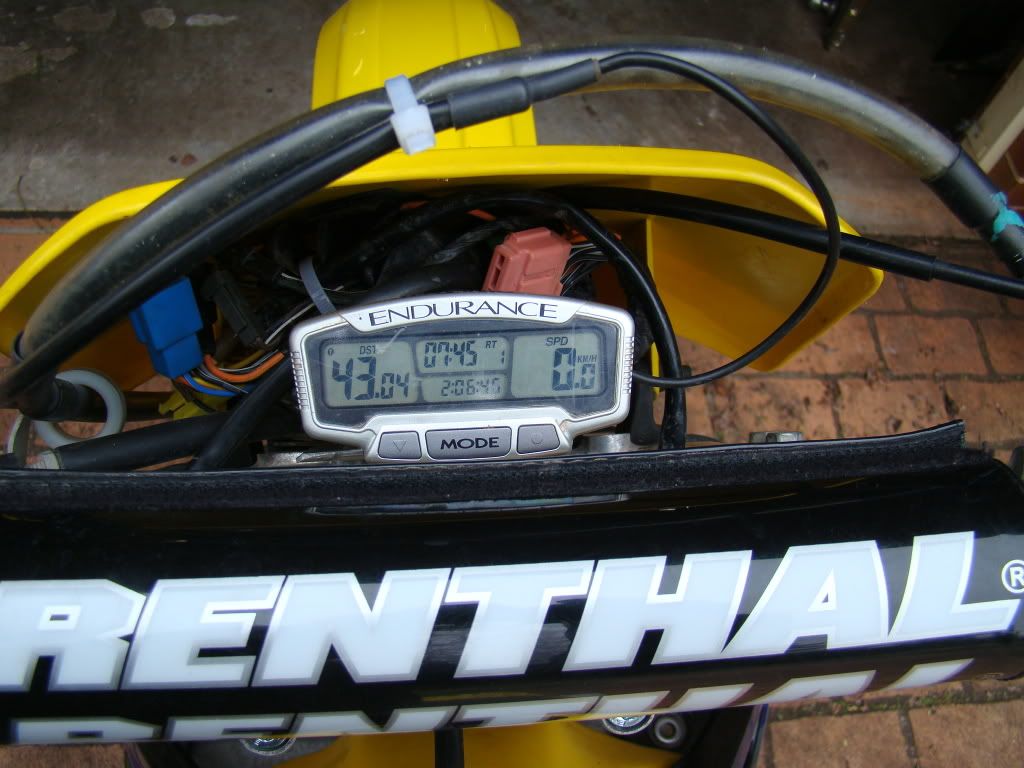
Up in the cockpit I fitted a set of Jimmy Button bend Rethal handlebars. I also removed the stock speedo, idiot lights and ignition switch then fitted a Trailtech Enduro digital speedo unit.
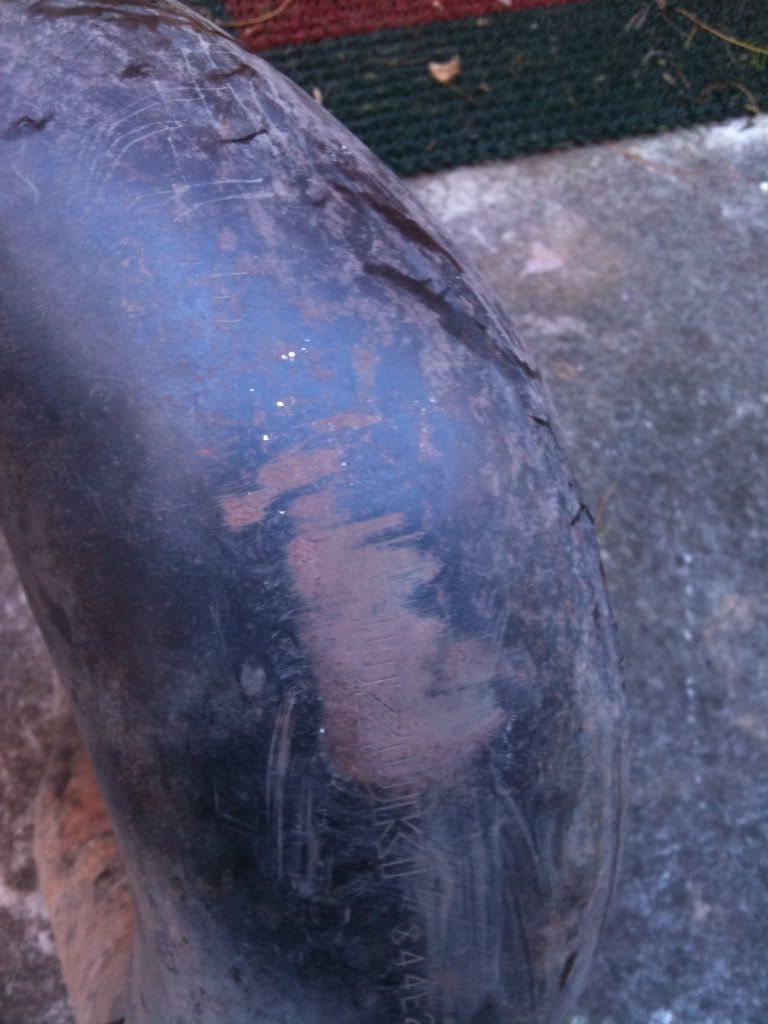
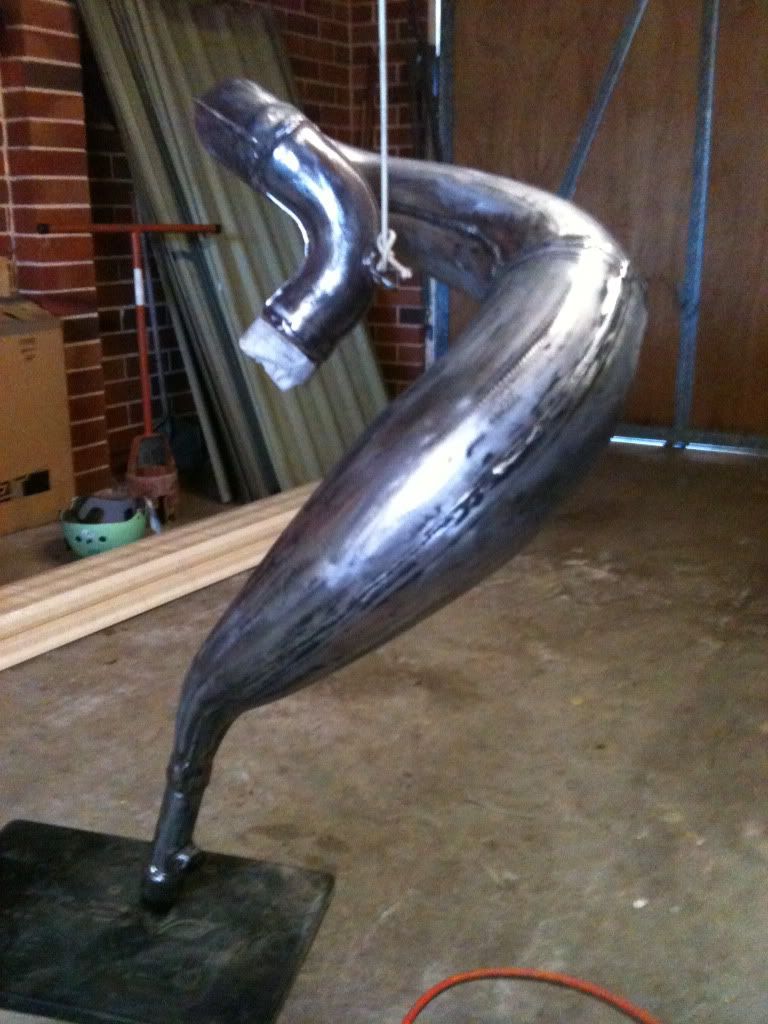
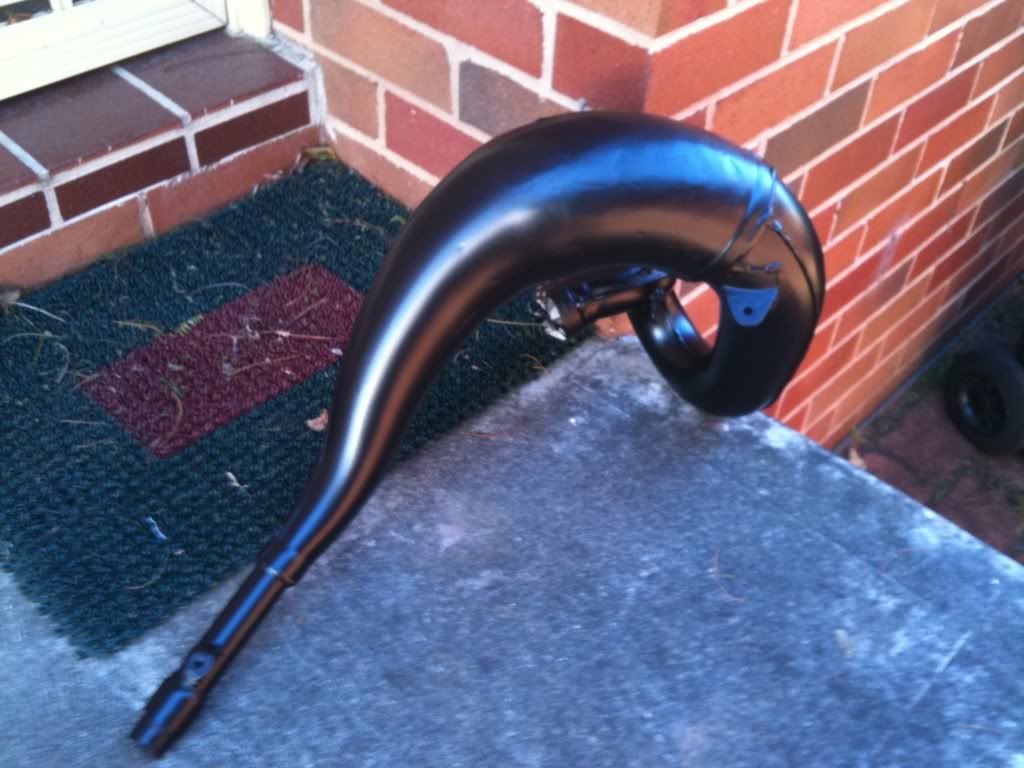
Next I repaired and painted the pipe. I did the old freezer trick to fix the dents. Came out nice and looks like new.
Before
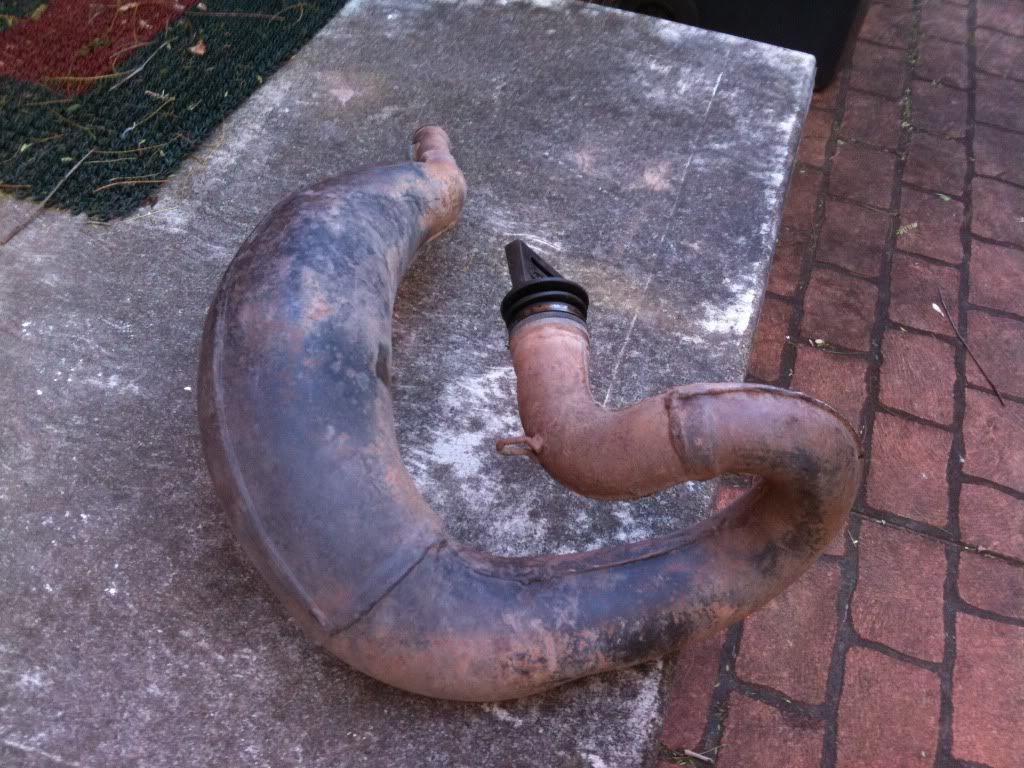
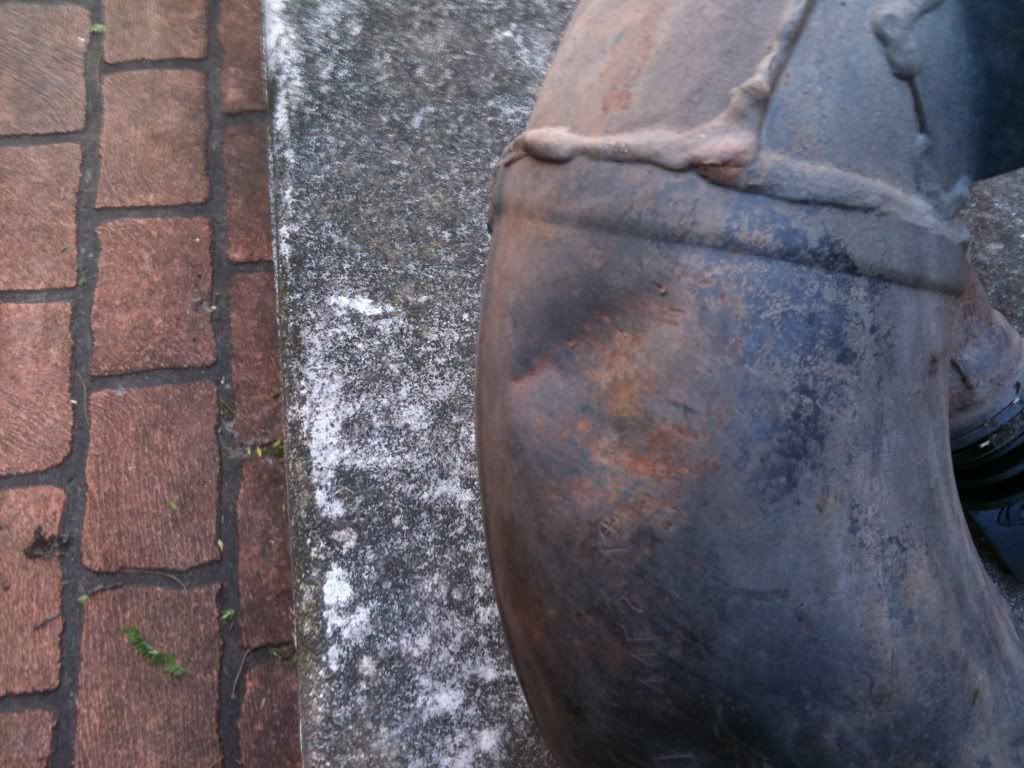
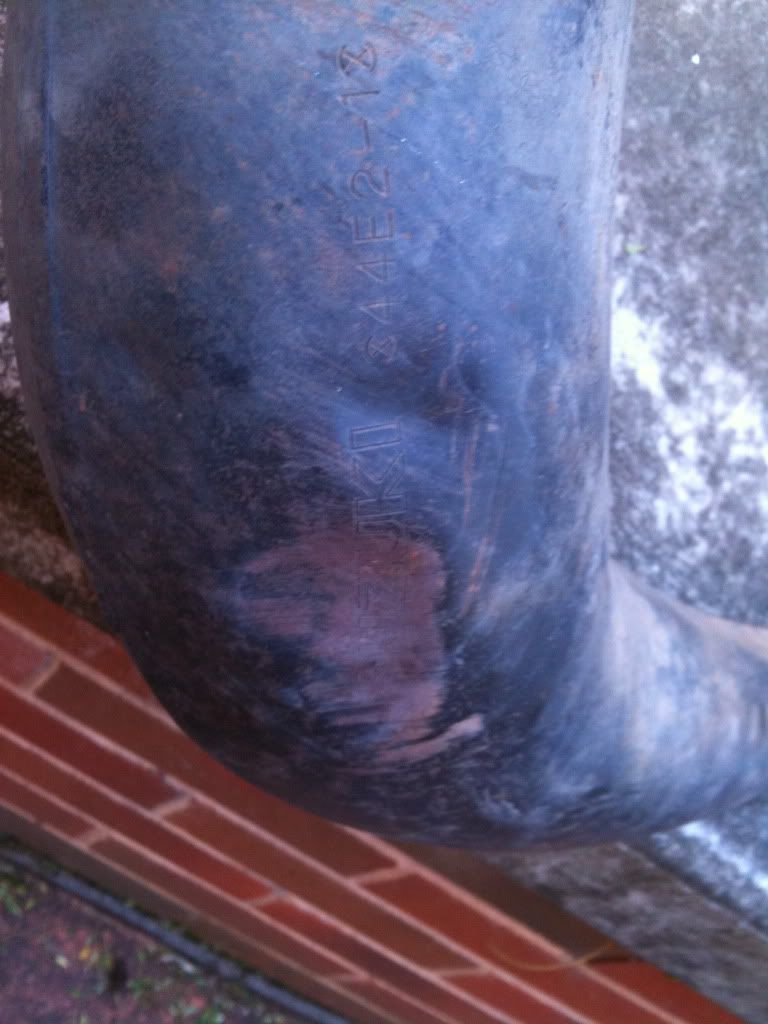
After

New tyres fitted front and rear. Metzeler MC5 front and a cheap Duro from Ballards for the rear.
I replace all the fluids on the bike. Gear oil, brake fluid, fork oil and coolant.
I pulled the shock off and took it to Tekniks for them to work there magic. Whilst there I took advantage of there current discount and got new springs for front and rear. The rear one is even colour coded yellow.

New front and rear gaurds fitted just to clean things up and a LED rear tail light looks cleaner than the XR style that was bolted to the old guard.
I originally fitted an RMX headlight from my DRZ. I have since got hold of another original RMX headlight shroud and made my own dual halogen setup.

The old girl is now ready for a good ride and I’m chomping at the bit to get out there on it. I’m organising something with some work mates next Friday, look out, RINNNGGGGG A DINNNGGGG DINNNGGGG
July 22, 2011 at 3:26 am #205283Next I repaired and painted the pipe. I did the old freezer trick to fix the dents. Came out nice and looks like new.
What is this “freezer trick” you speak of oh wise one? :huh:
Congrats on the RMX project.
July 22, 2011 at 2:40 pm #205289GaleyKTM300 wrote:Next I repaired and painted the pipe. I did the old freezer trick to fix the dents. Came out nice and looks like new.What is this “freezer trick” you speak of oh wise one? :huh:
Congrats on the RMX project.
GaleyKTM300, this is a pretty simple method of removing dents from ya pipe. It works on the theory that water expands when it freezes. You will need a freezer big enough to get your pipe in. I have a big chest freezer in the garage.
Plug the larger end of the pipe so it is water tight. I just used a muffed plug, worked
perfect.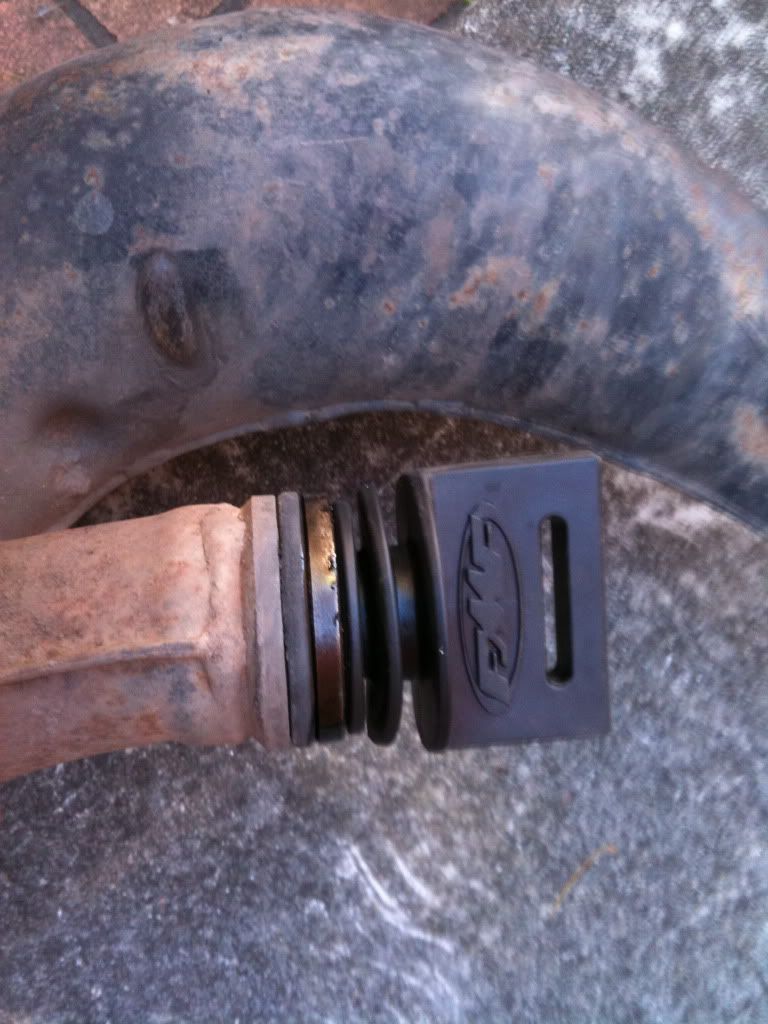
Fill the pipe with water and place in freezer. You can plug the small stinger end if need be but it will generally freeze up first creating it own plug. Leave in freezer until water turns to ice. This took about 7-8 hours for me. Keep an eye on it, the ice forming creates a lot of pressure. Pipes have been known to split welds doing this.
I wasn’t sure how well this would work on the RMX pipe as it is double walled and quite strong. When the pipe is fully frozen get the pipe out of the freezer. If the dent is not completely out, get a small hammer and tap around the high edges of the dent. DON’T smash the f#*k out of it just tap, tap, tap. This can help bring up the dent. I ended up putting it through the freezer twice the get the dents completely out.
There are other methods involving heat and air pressure but if you don’t have an oxy set, compressor and method of sealing the pipe the freezer trick is worth a try.
July 22, 2011 at 3:11 pm #205293My understanding was you don’t have to fill the whole pipe up. Just the section you want popped out has to be filled. When is say filled I mean air cannot pass through that section of pipe. The water freezes and expands against both sides to pop dent out with less stress than filling the whole pipe up. If that don’t work then go to plan b.
July 22, 2011 at 6:11 pm #204021Good build up story Scotty,
reminds of the bulk rebuilds ive done to keep my bike going,gotta spare chamber im going to give the freezing repair a try in the deep freeze.July 22, 2011 at 7:18 pm #205284looks like Bender’s Yellow cousin
July 22, 2011 at 11:09 pm #205298:laugh: cheers Scotty. I am going to have a go at getting my highside dent/reshaping out of my pipe. I was looking at replacing it. For those boys on the OBT bday ride I wonder if Mick could use this trick on his crumpled pipe!
Thanks again
August 2, 2011 at 11:19 pm #205309Good work Scotty,
") BTW Phil Tomlinson racing products is selling a heap of two stroke pipes at the moment including 96-01 RM 250 pipes going for $165 Aust (including GST)
BTW Phil Tomlinson racing products is selling a heap of two stroke pipes at the moment including 96-01 RM 250 pipes going for $165 Aust (including GST)Mufflers are $88
I saw the ad on the latest ADBOllie
-
AuthorPosts
You must be logged in to reply to this topic.